TL;DR:
- Preparation with an emergency kit and knowing stopcock location are crucial for quick response.
- Diagnosing leak type and severity helps determine DIY repair versus professional assistance.
- Proper surface drying and using correct fittings ensure lasting repairs and prevent further damage.
A burst or leaking pipe can cause serious damage within minutes, yet most homeowners have no plan in place when it happens. Repair costs range from £120 to £500, and that figure climbs fast if water reaches floors, walls, or electrics. The difference between a manageable repair and a costly disaster often comes down to how quickly and confidently you act. This guide gives you a clear, practical checklist covering preparation, diagnosis, repair steps, and prevention — everything you need to handle an emergency pipe situation in your UK home without panic or guesswork.
Table of Contents
- Preparation: What every homeowner needs
- Assessment: Quickly diagnosing pipe leaks
- Action steps: From temporary fix to permanent repair
- Edge cases and prevention: Avoiding future emergencies
- Why most pipe repair advice fails UK homeowners
- Get professional help when you need it most
- Frequently asked questions
Key Takeaways
| Point | Details |
|---|---|
| Preparation matters | Assemble a repair kit before emergencies to respond quickly and safely. |
| Assess before action | Diagnose the leak type to decide between DIY or professional repair. |
| Temporary vs permanent fix | Use clamps and putty for urgent repairs but prioritise full replacements when possible. |
| Know your responsibilities | You are responsible for repairs within your boundary, but public mains are handled by the water company. |
| Prevent future leaks | Insulate pipes and inspect monthly to reduce risk and costly damage. |
Preparation: What every homeowner needs
Before any leak happens, being prepared is the single most powerful thing you can do. Most homeowners only think about pipe repairs when water is already spreading across the kitchen floor. By that point, scrambling for tools wastes precious minutes. Having a dedicated emergency repair kit stored somewhere accessible — under the stairs, in the utility cupboard — means you can act immediately.
Here is what your kit should contain, based on recommended tools for UK pipe repairs:
- Adjustable wrench for tightening fittings and joints
- Pipe cutter for clean, accurate cuts when replacing sections
- PTFE tape (polytetrafluoroethylene) for sealing threaded joints
- Epoxy putty for temporary sealing of cracks and pinholes
- Pipe clamps for emergency containment of small leaks
- Bucket and towels to manage water immediately
- Rubber gloves to protect your hands from sharp edges and dirty water
- Torch because leaks rarely happen in well-lit spaces
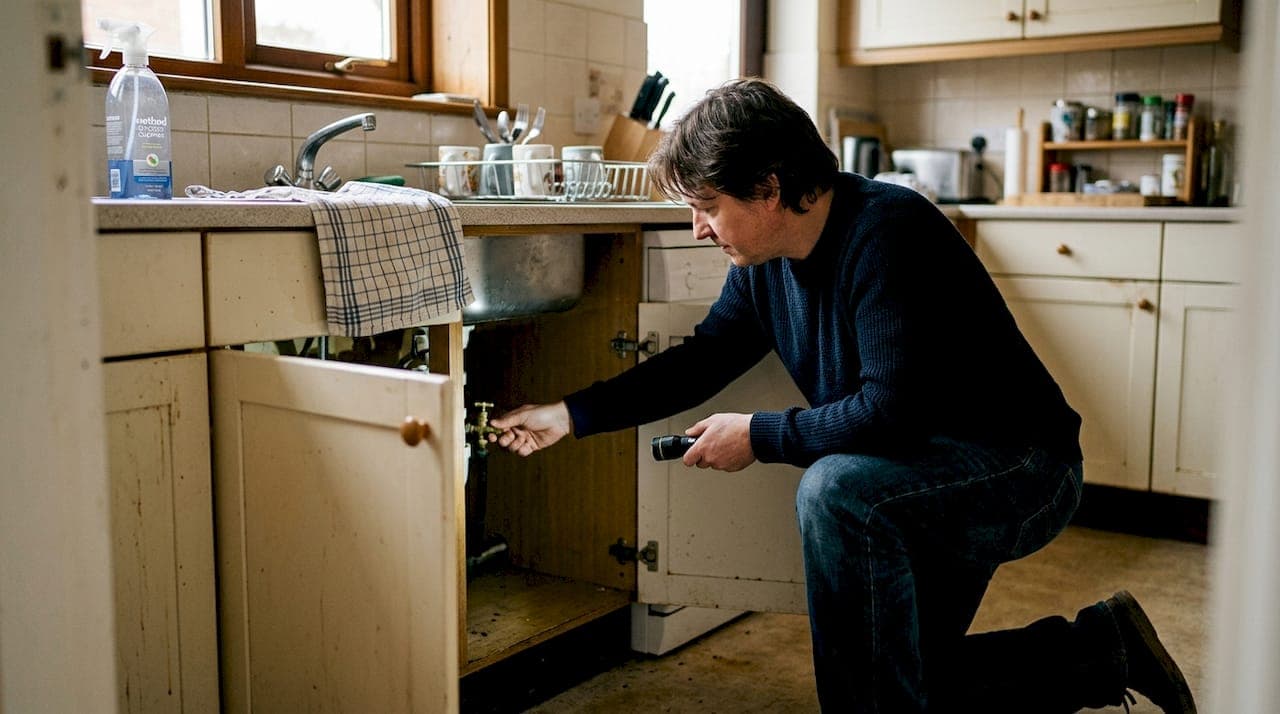
Safety must come first. Before touching any pipe, locate your stopcock (the mains water shut-off valve, usually under the kitchen sink or near the front door) and turn it off. This stops the water supply and gives you a dry working environment. If the leak is near electrics, switch off the relevant circuit at the fuse board before you do anything else. Understanding home plumbing safety basics can prevent a plumbing problem from becoming an electrical hazard.
For emergency plumbing repairs, speed and calmness go together. Knowing where your stopcock is before an emergency saves you from a frantic search while water pours out.
Pro Tip: Label your stopcock with a small tag and test it every six months. Stopcocks that are never used can seize up over time, making them impossible to turn when you actually need them.
Also keep a printed copy of your insurer's emergency line and your plumber's contact number with your repair kit. Digital contacts are useless if your phone is flat or soaked.
Assessment: Quickly diagnosing pipe leaks
Once you have your repair kit ready, the next essential step is accurately diagnosing the leak. Not all leaks are equal, and treating a burst pipe the same way you would treat a dripping joint is a mistake that can make things significantly worse.
Use this checklist to assess the situation quickly:
- Where is the water coming from? Trace it to the source before assuming. Water travels along pipes and surfaces, so the wet patch may not be directly above the leak.
- Is it a joint, a section of pipe, or a fitting? Joints are the most common failure points.
- How fast is the water flowing? A slow drip differs enormously from a pressurised spray.
- What material is the pipe? Copper, plastic (PVC or PEX), and iron all behave differently and require different repair approaches.
- Is the area accessible? Hidden leaks behind walls or under floors need professional leak detection rather than a DIY attempt.
Here is a comparison of the three most common leak types and their DIY feasibility, based on UK leak assessment guidance:
| Leak type | Typical cause | Repair method | DIY feasibility |
|---|---|---|---|
| Dripping joint | Worn washer or loose fitting | Tighten or replace washer | High |
| Pinhole leak | Corrosion or minor crack | Epoxy putty or pipe clamp | Medium |
| Burst pipe | Freeze damage or pressure | Section replacement | Low — call a pro |
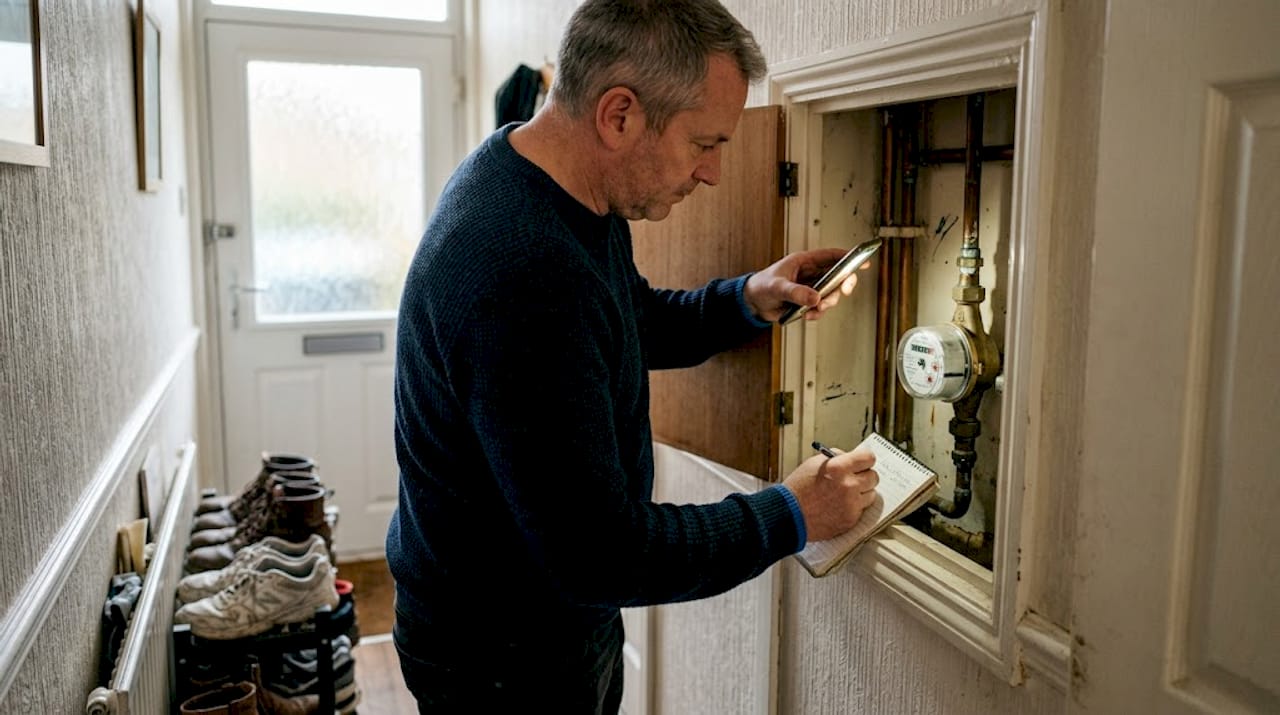
For spotting pipe leaks that are not immediately visible, your water meter is an underused diagnostic tool. Turn off every tap and appliance that uses water, then check whether the meter dial is still moving. If it is, you have a hidden leak somewhere in the system.
Pro Tip: Take a photograph of the leak before you start any repair. This is invaluable if you need to make an insurance claim later, and it helps a plumber understand the situation quickly if you need to call one in.
Understanding plumbing repair types before you start also helps you avoid misidentifying the problem and applying the wrong fix.
Action steps: From temporary fix to permanent repair
After identifying the leak type, move forward with practical repair actions tailored to your situation. The goal at this stage is first to stop the water, then to make a lasting repair.
- Shut off the water supply at the stopcock if you have not already done so.
- Drain the affected pipe by opening a tap downstream to release residual pressure and water.
- Dry the area thoroughly. This is non-negotiable. Sealants, epoxy, and PTFE tape all fail on wet surfaces. Use towels and allow a few minutes for the pipe surface to air dry.
- For a dripping joint: Use two spanners simultaneously — one to hold the pipe steady and one to tighten the fitting. Using only one spanner can twist and crack the pipe further.
- For a pinhole or crack: Knead epoxy putty, press for 5 minutes, cure for 1 hour before restoring water pressure. Alternatively, fit a pipe repair clamp over the affected section.
- For a damaged section: Cut out the faulty length cleanly with a pipe cutter. Use compression fittings (push-fit connectors that require no soldering) to attach the new section. This method works well for both copper and plastic pipe common in UK homes.
- Restore water slowly. Turn the stopcock back on gradually and watch the repair for several minutes before leaving it unattended.
"Temporary fixes buy time only — clamps and putty are not permanent solutions. For lasting reliability, especially in homes with mixed copper and PVC pipework, section replacement is the correct approach."
Pro Tip: Compression fittings are a UK homeowner's best friend. They require no specialist skills, no blowtorch, and no flux — just a spanner and a steady hand. Keep a couple of standard sizes in your repair kit.
Addressing common plumbing problems early, before a small drip becomes a burst, is always cheaper and less stressful than emergency repairs.
Edge cases and prevention: Avoiding future emergencies
Not all leaks are routine — here is how to tackle tricky cases and prevent repeat emergencies.
Responsibility boundaries matter. According to Southern Water leak guidance, homeowners are responsible for all pipework inside their property boundary, including the supply pipe running from the boundary to the house. Leaks in the public mains outside your boundary are the water company's responsibility. If you are unsure which side of the boundary a leak falls on, contact your water supplier before spending money on repairs.
Insurance: what is and is not covered. Home insurance covers sudden pipe bursts but typically excludes gradual leaks caused by wear and tear. Document any sudden damage thoroughly with photographs and report it promptly.
Here is a quick prevention checklist for UK homeowners:
- Insulate all exposed pipes in lofts, garages, and exterior walls before winter
- Check pipe lagging (insulation wrapping) every autumn for signs of damage
- Know where your stopcock is and confirm it turns freely
- Inspect under sinks and around appliance connections every three months
- Book an annual plumbing check with a qualified engineer
| Scenario | Your responsibility | Action |
|---|---|---|
| Leak inside your home | Yes | Repair or call a plumber |
| Supply pipe to boundary | Yes | Repair or call a plumber |
| Public mains outside boundary | No | Contact water company |
| Frozen pipes in winter | Yes | Insulate pipes and monitor |
| Hidden leak behind walls | Yes | Use professional leak detection |
Familiarising yourself with UK plumbing regulations also ensures any repair work you carry out or commission meets legal standards, which matters for insurance claims and property sales alike.
Why most pipe repair advice fails UK homeowners
Most pipe repair guides are written for ideal conditions: clean, dry, accessible pipework with standard fittings. Real UK homes are nothing like that. You are dealing with pipes installed decades apart, mixed materials, awkward access behind boxing or under concrete, and fittings that have not moved since the 1980s.
The single most overlooked step in every checklist is surface preparation. Sealants fail because people apply them to damp pipes in a rush. A dry surface is not optional — it is the entire reason the repair holds. The practical pipe repair guide reinforces that dry surfaces are essential for any sealant to bond correctly.
Another common error is treating a temporary fix as a finished job. A clamp or epoxy patch is a breathing space, not a resolution. We see this regularly — homeowners who patched a pinhole six months ago and are now dealing with a far larger failure because the underlying pipe was corroding the whole time.
For anything beyond a straightforward joint repair, use a WRAS-approved (Water Regulations Advisory Scheme) plumber. It protects your warranty, your insurance, and your home.
Get professional help when you need it most
Sometimes the checklist runs out and the situation needs a professional. A burst pipe, a hidden leak, or a repair that has failed twice already is not a DIY job — it is a call to someone who carries the right tools, knows the regulations, and can fix it properly the first time.

At 777 Plumber, we send fully employed, in-house engineers with no call-out fees and no fix-no-fee charges. Whether you are in Hotwells or Eastfield, we respond fast to genuine emergencies. You can find emergency plumbers near you and book online in minutes. Transparent pricing, real accountability, and a team that treats your home with the same care they would their own.
Frequently asked questions
What tools are essential for emergency pipe repairs?
You need an adjustable wrench, pipe cutter, PTFE tape, epoxy putty, pipe clamps, a bucket, towels, gloves, and a torch. Keeping these ready in one kit means you can act immediately when a leak starts.
What type of leak can I fix myself?
Dripping joints and pinholes are often manageable as DIY repairs; major bursts involve high water pressure and structural risk, so always call a professional for those.
How can I prevent pipes from freezing in winter?
Insulate all exposed pipes before the cold season and check the lagging monthly, as frozen pipes are a common winter problem in UK homes with unheated loft spaces.
Who is responsible for pipe leaks inside the boundary?
The homeowner is responsible for all pipework within their property boundary, while the water company handles leaks in public mains outside that boundary.
Does home insurance cover pipe repair costs?
Most policies cover sudden bursts but exclude gradual leaks caused by wear and tear, so document any sudden damage immediately with photographs before starting repairs.