TL;DR:
- Proper planning, material choice, and adherence to regulations ensure reliable domestic pipework installation.
- Pressure testing and correct clip spacing are critical steps often overlooked, risking leaks and failures.
- Professional help is recommended for complex jobs or when encountering unexpected pipe issues.
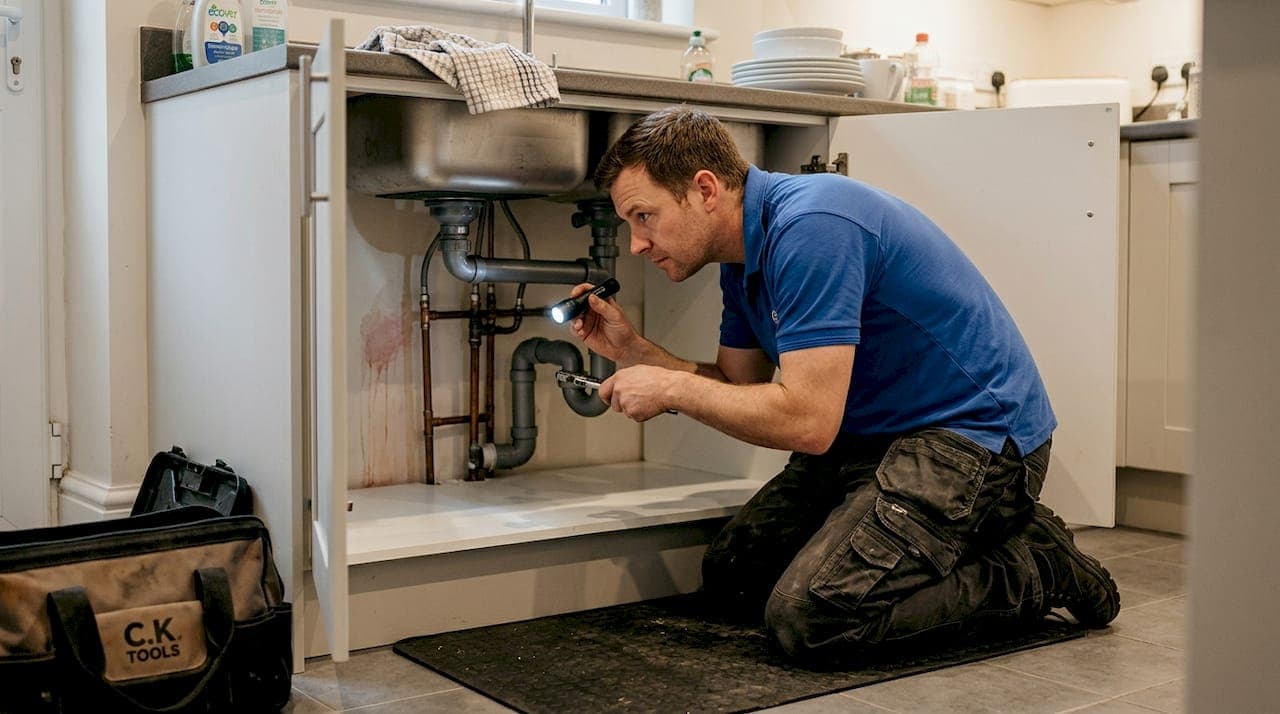
Planning a bathroom renovation or noticing a damp patch on the wall? The pipework installation process is at the heart of almost every domestic plumbing project, and getting it wrong can mean leaks, water damage, or repair bills that far outweigh the original job. Whether you're replacing old copper runs, adding a new radiator circuit, or laying fresh drainage, a structured approach makes the difference between a reliable result and a recurring headache. This guide walks you through everything from choosing materials and understanding regulations to cutting, joining, and testing your pipework correctly.
Table of Contents
- Understanding your plumbing system and project needs
- Essential tools and materials for safe pipework installation
- Step-by-step domestic pipework installation process
- Installing waste and drainage pipework
- Expert insights: What most guides get wrong about pipework installation
- Need a trusted plumber? Get expert help for your pipework project
- Frequently asked questions
Key Takeaways
| Point | Details |
|---|---|
| Material selection matters | Choose the right pipe type (copper or plastic) to match your needs, budget and heating requirements. |
| Follow step-by-step process | Measuring, cutting, joining and pressure-testing in order reduces leaks and future issues. |
| Check gradients and regulations | Keep drainage at the correct fall and meet UK plumbing regulations to avoid costly errors. |
| Prioritise safety and verification | Always use proper PPE and pressure-test before closing up pipework for a reliable result. |
Understanding your plumbing system and project needs
Before you pick up a pipe cutter, it pays to understand what type of plumbing system you're working with and what the project actually demands. UK domestic plumbing broadly divides into two categories: the hot and cold water supply system, which delivers clean water to taps, showers, and appliances, and the waste and drainage system, which removes used water safely from the property. Knowing which part of the system you're touching shapes every decision you make afterwards. You can read more about types of plumbing systems to get a clearer picture before you start.
The first practical decision is pipe material. Copper vs plastic pipes is a genuine trade-off: copper offers superior heat transfer and durability for heating circuits but comes at a higher cost, while plastic pipe (PEX or pushfit plastic) is cheaper, flexible, and far easier to install, though it conducts heat less efficiently. Many modern installations use both, with copper on boiler and radiator connections and plastic for cold feeds and branch runs, joined using transition fittings.

Next, assess the scope of your project honestly. A like-for-like repair is very different from a full bathroom renovation or a new build extension. Each carries different regulatory obligations. The Water Supply (Water Fittings) Regulations 1999 govern virtually all pipework connected to the mains supply in England and Wales, covering materials, backflow prevention, and notification requirements. Ignoring them can invalidate your home insurance.
Here's a quick project checklist to get you started:
- Identify whether the work touches hot supply, cold supply, or drainage
- Confirm whether Building Regulations notification is required
- Check pipe sizes needed (15mm, 22mm, or 28mm for supply; 40mm or 110mm for waste)
- Source isolation valves so you can shut off water to specific sections
- Gather pipe clips, brackets, and lagging before the job begins
| Pipe type | Best use | Typical cost per metre | Jointing method |
|---|---|---|---|
| Copper | Heating circuits, boiler connections | £3–£6 | Solder or compression |
| PEX plastic | Cold feeds, underfloor heating | £1–£2.50 | Pushfit or compression |
| MDPE (blue) | Underground mains supply | £1.50–£3 | Compression fittings |
| uPVC | Waste and drainage | £2–£4 | Solvent weld or pushfit |
Remember: Any work that involves a new connection to the mains supply must be notified to your water supplier under the Water Fittings Regulations. Failing to do so is a criminal offence.
Essential tools and materials for safe pipework installation
Once you've mapped out your project, gathering the right tools is non-negotiable. Working with inadequate equipment leads to poorly cut pipes, leaking joints, and wasted materials. The good news is that a well-stocked toolkit covers most domestic scenarios, whether you're working with copper or plastic.
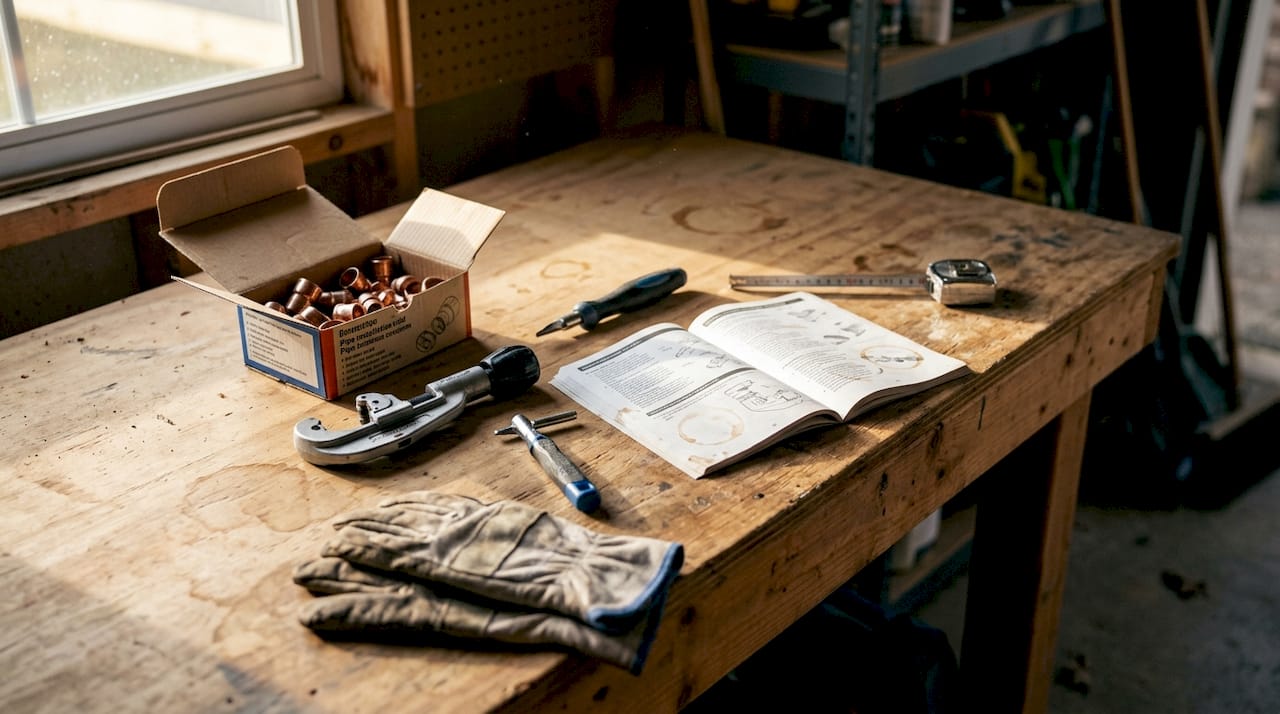
For copper pipework, you'll need a pipe slice or hacksaw, a deburring tool or fine file, flux paste, lead-free solder, a blowtorch, and compression fittings as a solderless alternative. For plastic pipework, a plastic pipe cutter, pipe inserts (also called stiffeners), and pushfit or compression fittings are the essentials. Both material types require a pipe bending spring or bending machine if you want to create curves without kinking the pipe.
| Tool | Purpose | Copper | Plastic |
|---|---|---|---|
| Pipe slice/cutter | Clean, square cuts | ✓ | ✓ |
| Deburring tool | Remove sharp internal edges | ✓ | ✓ |
| Blowtorch and flux | Soldered joints | ✓ | ✗ |
| Pipe inserts/stiffeners | Prevent compression collapse | ✗ | ✓ |
| Pushfit fittings | Fast, tool-free connections | ✗ | ✓ |
| Pressure test kit | Verify joint integrity | ✓ | ✓ |
For safety, always wear heat-resistant gloves when soldering, use eye protection when cutting, and keep a fire-resistant mat behind any copper joint you're heating. A carbon monoxide detector should already be fitted if you're working near a boiler.
The jointing method you choose matters enormously. Compression fitting techniques for MDPE pipe require you to cut the pipe square, insert a stiffener, and tighten the nut firmly without over-tightening. Soldering copper demands a clean, fluxed surface, controlled heat applied to the fitting body (not the pipe), and solder drawn in by capillary action. Pushfit connections are the fastest option for plastic, but always check the pipe is fully seated and the release collar is locked.
Pro Tip: Never skip the pipe insert when using compression fittings on plastic or MDPE pipe. Without it, the pipe wall can collapse under the olive, creating a joint that appears tight but weeps under pressure. It's a two-second step that prevents a very frustrating leak.
For broader guidance on staying safe throughout any plumbing task, the plumbing safety guidance on our blog covers the key hazards and how to manage them.
Step-by-step domestic pipework installation process
With your tools assembled and your layout planned, here's how to work through the installation methodically.
- Prepare the site. Clear the working area, protect flooring with dust sheets, and isolate the water supply at the relevant stopcock or service valve. Drain the affected section by opening the lowest tap on that circuit.
- Measure and mark your pipe runs. Use a tape measure and pencil to mark cut points. Always measure twice. Account for the depth of fittings when calculating lengths, as this is one of the most common causes of short pipes.
- Cut the pipe. Use a pipe slice for copper to get a perfectly square cut with minimal swarf. For plastic, a dedicated plastic pipe cutter produces a cleaner edge than a hacksaw. Deburr all cut ends inside and out before fitting.
- Join the pipes. For copper, clean the pipe end and fitting socket with wire wool, apply flux, push together, and apply heat to the fitting until solder flows evenly around the joint. For plastic compression, insert the stiffener, push the pipe into the fitting, and tighten the nut by hand plus one and a quarter turns with a spanner. For pushfit plastic, push firmly until you feel and hear the pipe seat.
- Support and clip the pipework. According to correct clip spacing guidance, 15mm copper horizontal runs should be clipped at 1.2 metre intervals. Plastic pipe expands more with temperature, so clip it at closer intervals (around 0.5m for horizontal runs) to prevent sagging.
- Pressure test before closing up. This is the step most DIYers skip, and it is the most important one.
Pro Tip: Before you box in any pipework or plaster over a chase, connect a pressure test gauge and hold the system at 1.5 times working pressure for at least 30 minutes. Any drop in pressure reveals a leak you'd otherwise only discover after the wall is finished.
For a full overview of what's involved in a larger project, planning a plumbing refurbishment is worth reading before you start. If you do encounter a leak during testing, our guide to fixing leaking pipes covers the most common remedies. And if you're considering doing this work yourself on a larger scale, understanding plumbing accreditation will help you know when a qualified professional is legally required.
Installing waste and drainage pipework
Waste and drainage pipework is often treated as an afterthought, but incorrect installation causes blockages, foul smells, and structural damage. The rules here are just as precise as for supply pipework.
- Plan your gradient first. Every waste pipe needs a fall to move waste efficiently. Too shallow and solids settle; too steep and the water races ahead, leaving solids behind.
- Excavate the trench. For underground drainage, dig to the required depth, allowing for a granular bed of at least 100mm beneath the pipe.
- Lay the granular bed. Use pea gravel or clean angular gravel as a bedding material. This distributes load evenly and allows drainage around the pipe.
- Lay the pipe and check the gradient. Use a spirit level and a straight edge to verify the fall as you go. Don't rely on eye alone.
- Surround and backfill. Surround the pipe with pea gravel to at least 150mm above the crown, then backfill with selected fill, compacting in layers to avoid point loading on the pipe.
- Install inspection chambers at every change of direction. This allows future rodding access and is a requirement under Building Regulations Part H.
The drainage installation guide confirms that 110mm foul drains require a gradient of 1:40 (25mm per metre), with a granular bed and pea gravel surround, and inspection chambers positioned at every change of direction or gradient.
| Drain size | Minimum gradient | Bedding material | Inspection chamber |
|---|---|---|---|
| 110mm foul | 1:40 (25mm/m) | Pea gravel, 100mm bed | At every change of direction |
| 160mm foul | 1:60 | Pea gravel, 100mm bed | At every change of direction |
| 110mm surface water | 1:80 | Granular fill | At junctions |
Gradient matters more than most people realise. A drain laid at 1:80 instead of 1:40 may appear to work initially, but over time, solids accumulate and you end up with a blocked drain that requires professional clearing.
For help diagnosing problems with existing drains, our drainage troubleshooting advice is a practical starting point. You can also explore plumbing repair types to understand what category your issue falls into, or read our emergency repair guidance if the situation is urgent.
Expert insights: What most guides get wrong about pipework installation
Most online guides give you a list of steps and call it done. What they rarely address is the gap between following instructions in ideal conditions and actually working in a real house, where pipes run through awkward corners, the water can't always be fully drained, and interruptions mean joints cool before the solder flows properly.
In our experience, the two most neglected aspects of any pipework job are pressure testing and clip spacing. Homeowners box in pipework and tile over it without ever confirming the joints hold. Months later, a slow weep saturates the wall. Clip spacing is equally overlooked: unsupported plastic pipe sags, stresses joints, and eventually cracks at the fitting socket.
The other thing guides rarely say is this: knowing when to stop is a skill. If you've opened a wall and found corroded pipework running in unexpected directions, or if the job requires a new mains connection, that's the point to call in a professional. Understanding the plumbers' role in refurbishments helps you know where the boundary lies between a confident DIY task and a job that needs a qualified pair of hands.
Need a trusted plumber? Get expert help for your pipework project
If your pipework project is more complex than a straightforward repair, or if you simply want the reassurance of a professional result, 777 Plumber is ready to help. We're a fully employed, in-house team with no subcontractors, which means consistent quality and full accountability on every job.

From new pipe installations to mains water leak detection, we cover the full range of domestic plumbing work with transparent pricing and rapid response times. Whether you're in Bristol or the surrounding area, our plumber in Fishponds team and wider local coverage means expert help is never far away. Book online today and get your pipework done right, first time.
Frequently asked questions
What type of pipe material is best for domestic plumbing?
Copper is highly durable and ideal for heating circuits, while plastic pipe is cheaper and easier to install for most cold feed and branch runs. Many homes use both, joined with transition fittings.
How do I ensure drain pipes are installed at the correct gradient?
For 110mm foul drains, set a gradient of 1:40 (25mm per metre) to ensure waste flows freely without solids settling in the pipe.
Is it necessary to pressure test new pipework before finishing?
Yes, always pressure test before covering or backfilling. It's the only reliable way to confirm all joints are sound before they become inaccessible.
What is a common mistake when joining pipes?
Forgetting to insert a pipe stiffener in compression joints on plastic pipe is one of the most frequent errors, and it almost always results in a leak under pressure.