TL;DR:
- Proper planning and understanding UK regulations prevent costly plumbing mistakes during bathroom renovations.
- Selecting appropriate materials and ensuring correct drainage sizing and pressure support are essential for system reliability.
- Using certified professionals for complex tasks and compliance sign-off safeguards your investment and future property value.
Hidden plumbing errors are the number one reason bathroom renovations run over budget and over schedule. A misrouted waste pipe, a forgotten isolation valve, or a compliance oversight can unravel weeks of work in hours. The good news is that most of these disasters are entirely avoidable with the right preparation. This guide walks you through every critical stage: from planning and pipe selection to regulatory compliance, installation best practice, and final checks. Whether you are tackling a simple refresh or a full wet room conversion, understanding the plumbing process gives you the confidence to manage your project properly and avoid the traps that catch so many homeowners out.
Table of Contents
- Planning your bathroom plumbing project
- Understanding pipework and drainage essentials
- Complying with UK plumbing regulations
- Installation steps and avoiding common mistakes
- Our expert perspective: What most guides miss about bathroom plumbing
- Get expert plumbing help for your bathroom renovation
- Frequently asked questions
Key Takeaways
| Point | Details |
|---|---|
| Two-stage process | Bathroom plumbing follows a clear first and second fix sequence you must plan up front. |
| Pipe material matters | Choosing copper, PEX, or PVC affects durability, flexibility, and future maintenance. |
| Compliance is critical | Meeting Parts G, H, P regulations avoids fines, safety risks, and resale headaches. |
| Wet room challenges | Wet rooms require careful waterproofing, correct gradients, and reinforced floors for long-term reliability. |
| Expert help saves money | Hiring a qualified plumber can prevent costly errors and ensure a smooth, compliant renovation. |
Planning your bathroom plumbing project
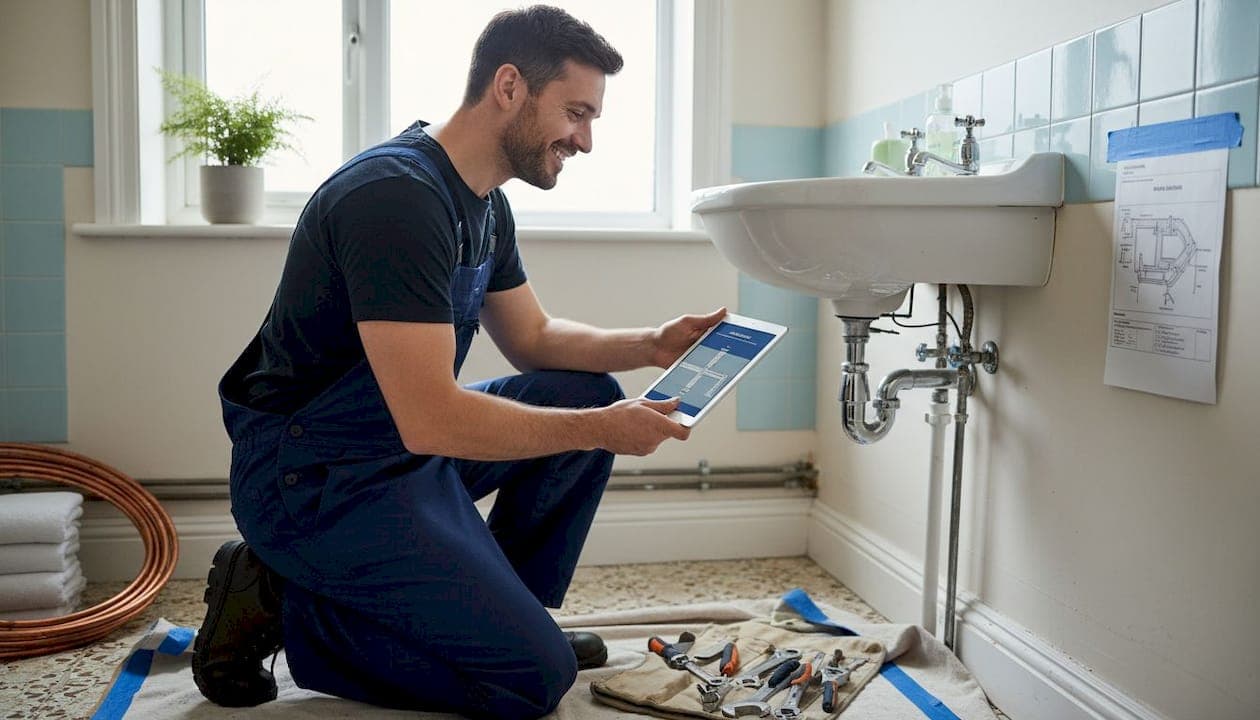
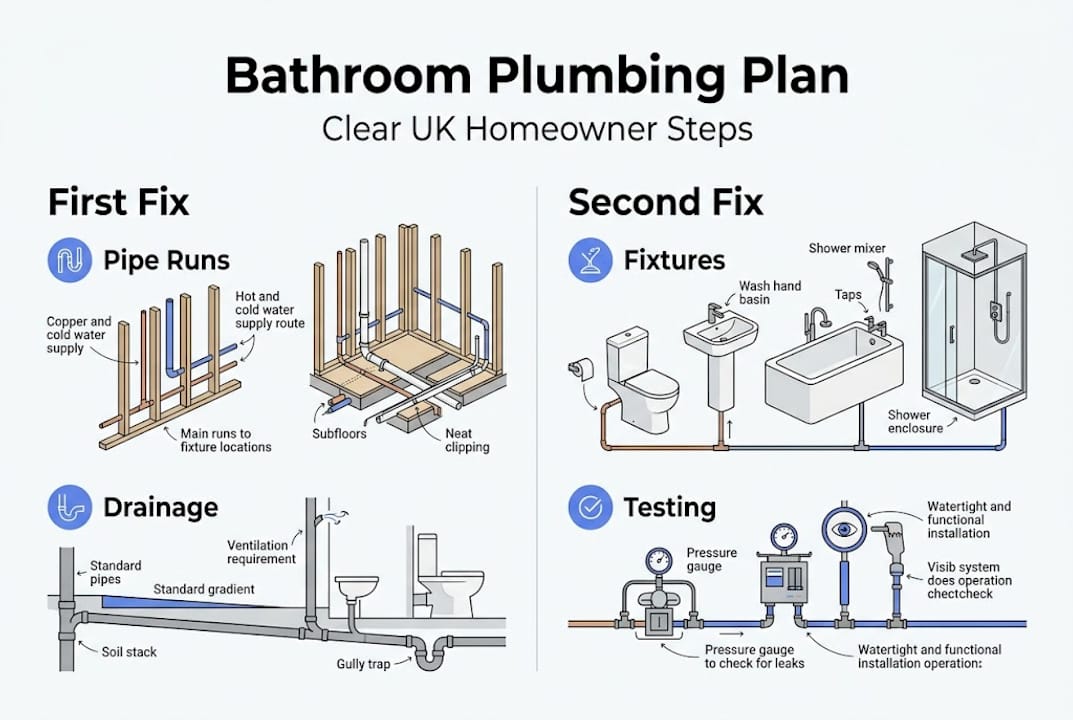
Every successful bathroom renovation starts long before a single pipe is touched. The foundation is understanding that bathroom plumbing follows a two-stage process: first fix and second fix. First fix covers all the pipe routing, drainage runs, and structural work completed before walls and floors are closed up. Second fix is everything that happens after the finishes are in place, connecting fixtures like basins, baths, and toilets. Typical projects run for 2 to 6 days and cost between £1,500 and £3,000 for plumbing alone.
Getting your planning plumbing refurbishment right from the start prevents the most expensive mistakes. A proper pre-renovation assessment should cover:
- Current pipe routes and conditions: Are existing pipes copper, lead, or plastic?
- Water pressure and flow rate: Can the system support new fixtures?
- Drainage positions: Will new fixtures align with existing waste runs, or will you need to reroute?
- Regulatory requirements: Which Building Regulations apply to your specific project?
- Budget allocation: Split costs between first fix labour, materials, and second fix fitting.
| Stage | Key tasks | Typical duration |
|---|---|---|
| First fix | Pipe routing, drainage, structural prep | 1 to 3 days |
| Second fix | Fixture connection, tiling, finishing | 1 to 3 days |
| Compliance check | Sign-off, pressure testing | Half to 1 day |
Understanding the plumber roles in renovations at each stage helps you brief contractors accurately and spot gaps in their proposals. Regulatory basics you need to know include Building Regulations Part G (sanitation and water efficiency), Part H (drainage), and Part P (electrical safety in bathrooms). Ignoring these is not just a legal risk; it can invalidate your home insurance and complicate future property sales.
Pro Tip: Before booking any trades, commission a compliance review of your existing bathroom layout. Identifying rerouting needs at this stage costs far less than discovering them mid-renovation.
Understanding pipework and drainage essentials
With planning done, the next step is choosing the right materials for your pipe runs and drainage. The three main options in UK bathrooms are copper, PEX, and PVC, and each has a distinct role. Pipe material guidance confirms that copper is the gold standard for supply lines, lasting 50 or more years, while PEX offers flexibility for hot and cold runs in tight spaces, and PVC handles drainage and waste in sizes from 32mm to 110mm. All materials must carry WRAS approval (Water Regulations Advisory Scheme) to meet UK standards.
Understanding the different plumbing system types in UK homes helps you match new pipework to what is already there. A quick comparison:
| Material | Best use | Lifespan | Cost |
|---|---|---|---|
| Copper | Concealed supply runs | 50+ years | Higher |
| PEX | Flexible hot/cold runs | 25 to 40 years | Medium |
| PVC | Drainage and waste | 25 to 40 years | Lower |
Drainage sizing matters more than most homeowners realise. Basins typically use 32mm waste pipes, baths and showers use 40mm, and soil stacks (carrying toilet waste) require 110mm. Getting these wrong causes slow drains, blockages, and even regulatory failures.
Water pressure is equally critical. UK minimum pressure sits at 1 bar at the boundary, but you need more than the minimum for power showers and thermostatic valves. A simple test: fill a 10-litre bucket in under 40 seconds. If it fills in that time, your flow rate exceeds 15 litres per minute, which is considered good. Older homes may have lead pipes that need full replacement before any new bathroom work begins, as lead contamination is a serious health risk.
Isolation valves deserve special attention. Fit one on every supply line to every fixture. They allow you to shut off a single tap or toilet without cutting water to the whole house, which saves enormous hassle during repairs. Always check UK plumbing regulations for valve placement requirements before finalising your layout.
Pro Tip: Use copper for all concealed pipe runs inside walls and floors, and push-fit fittings only where pipes remain accessible. Push-fit joints in hidden locations are a future leak waiting to happen.
Complying with UK plumbing regulations
Once pipework is mapped, ensuring every decision meets current UK Building Regulations is non-negotiable. The key regulations covering bathroom plumbing are:
- Part G: Covers sanitation, hot water safety, and water efficiency. It sets a maximum consumption of 125 litres per person per day and requires thermostatic controls on hot water to prevent scalding.
- Part H: Governs drainage design. Waste pipes must run at a 1:40 gradient for 110mm soil pipes to ensure self-cleansing flow. Poorly graded drainage causes persistent blockages. Full Part H drainage rules cover pipe sizing, inspection access, and connection to public sewers.
- Part P: Electrical safety in bathrooms. Any new electrical work, including extractor fans, shaver sockets, or underfloor heating, must be carried out by a qualified electrician and notified to Building Control.
For plumbing accreditation UK, look for tradespeople registered with WaterSafe or Gas Safe where relevant. Accredited professionals can self-certify their work, saving you the cost of a separate Building Control inspection.
A compliance checklist for your bathroom renovation:
- Confirm all fixtures meet water efficiency ratings under Part G.
- Verify drainage gradients are correct before closing floors.
- Ensure soil stack connections are properly ventilated.
- Check that all electrical work is Part P compliant and notified.
- Obtain a completion certificate for any notifiable work.
"Failing to comply with Building Regulations can invalidate your home insurance and create serious obstacles when you come to sell your property."
Understanding how home plumbing safety connects to these regulations helps you appreciate why they exist. They are not bureaucratic hurdles; they protect your family and your investment.
Pro Tip: For anything requiring a completion certificate, use a certified professional. The cost of sign-off is trivial compared to the cost of remedial work if an inspector rejects your installation.
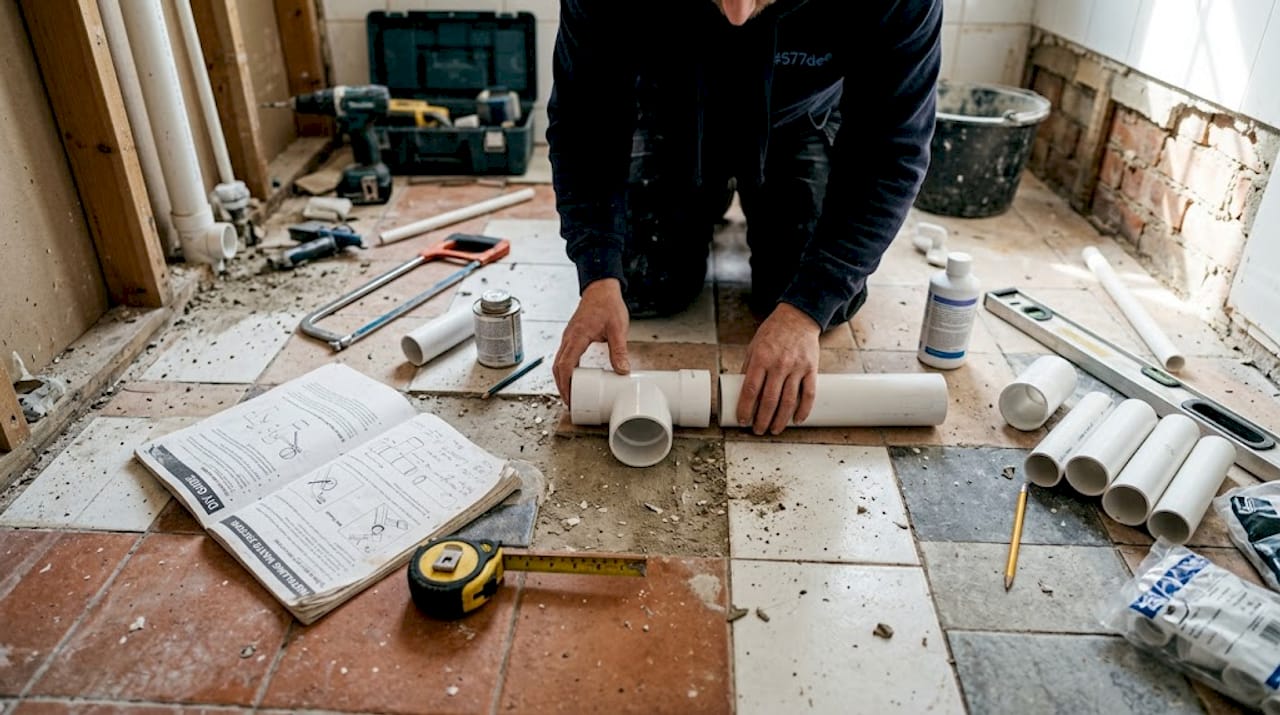
Installation steps and avoiding common mistakes
With compliance confirmed, installation can begin. Following the right sequence prevents the errors that cause the most expensive rework. Here is a clear step-by-step overview:
- Mark out all pipe routes and drainage runs before cutting into walls or floors.
- Complete all first fix pipework, including supply pipes, waste runs, and soil connections.
- Pressure test all supply pipes before closing walls. Use a pressure gauge and hold at 1.5 times working pressure for one hour.
- Install floor and wall waterproofing (tanking) before tiling, especially in shower areas.
- Complete tiling and finishing while second fix fittings are temporarily removed.
- Connect all fixtures during second fix, including taps, toilets, and shower valves.
- Test drainage by running all fixtures simultaneously and checking for slow drains or leaks.
Common plumbing pitfalls that catch homeowners out include ignoring drainage gradients (leading to slow drains), poor waterproofing (leading to concealed leaks), mixing incompatible pipe materials, omitting isolation valves, and attempting DIY electrical work without certification.
Wet rooms require extra care. Full tanking using liquid or sheet membranes is essential, along with floor formers set to a 1:60 gradient towards a high-flow linear drain. Timber floors need structural reinforcement to carry the additional weight of a wet room floor former and tile finish. Skipping any of these steps leads to water ingress into the subfloor, which is extremely costly to repair.
For older properties, check pipe compatibility carefully. Mixing copper and galvanised steel without a dielectric union causes accelerated corrosion. Always assess plumbing repair types before deciding whether to patch or replace existing runs.
Pro Tip: Always pressure test supply pipes and run drainage checks before closing any walls or floors. Discovering a leak after tiling is one of the most avoidable and costly mistakes in bathroom renovation.
Our expert perspective: What most guides miss about bathroom plumbing
Most bathroom plumbing guides focus on the visible: fixtures, finishes, and fittings. What they underplay is the hidden infrastructure that determines whether your bathroom works reliably for the next 20 years. In our experience, first fix errors are the costliest mistakes in any renovation, often adding £2,000 or more in rework once walls are closed.
The most versatile approach for UK homes is a hybrid copper and PEX system: copper for all concealed runs where durability matters most, and PEX for flexible connections in accessible locations. This combination balances longevity with practicality. Add accessible isolation valves at every fixture and a MagnaClean filter on your heating circuit, and you have a system that is genuinely easy to maintain.
DIY can absolutely save money on straightforward tasks like fitting a new basin or replacing a tap. But anything touching drainage design, soil stacks, or electrical circuits needs certified professional input. The savings from skipping professional sign-off are rarely worth the risk to your plumber call-out fees down the line, let alone the complications at resale. Certification is not a formality; it is your financial protection.
Get expert plumbing help for your bathroom renovation
If your renovation involves complex drainage rerouting, wet room installation, or compliance sign-off, working with a qualified local plumber is the most cost-effective decision you can make.

At 777 Plumber, our fully employed, in-house team handles every stage of bathroom plumbing with transparent pricing and no call-out charges. Whether you need a plumber in Hotwells or a plumber in Eastfield, we bring the same professional standards to every project. We cover first fix planning, compliance checks, pressure testing, and second fix installation, all under one roof. Browse our completed projects to see the quality we deliver, and book online today for a prompt, no-obligation assessment of your bathroom renovation plans.
Frequently asked questions
How long does bathroom plumbing renovation typically take?
Most bathroom plumbing renovations take 2 to 6 days to complete, though complex layouts or older properties with lead pipework can extend this timeline.
What are the main UK plumbing regulations for bathroom renovations?
Parts G, H, and P of the Building Regulations cover sanitation and water efficiency, drainage design, and electrical safety respectively; compliance with all three is mandatory for notifiable work.
How can I test if my home has good water pressure for a new bathroom?
Fill a 10-litre bucket and time it; if it fills in under 40 seconds, your flow rate exceeds 15L/min, which is sufficient for most bathroom fixtures including thermostatic showers.
Do I need to hire a professional plumber for bathroom renovation?
Simple tasks like replacing a tap are suitable for confident DIYers, but drainage rerouting, soil stack connections, and anything requiring regulatory sign-off must be handled by a certified professional.
What is the average cost of a full bathroom plumbing renovation?
Plumbing alone typically costs £1,500 to £3,000, while a complete bathroom renovation including fixtures, tiling, and finishing generally runs between £5,000 and £10,000.